As an early Christmas gift I helped my sister-in-law Jane install laminate flooring in most of her condo in Phoenix. The locals tell me it's not hot for August, but the sidewalks radiate heat late into the night.
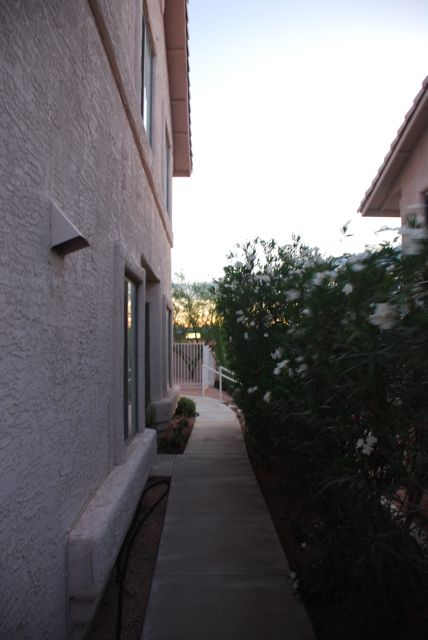
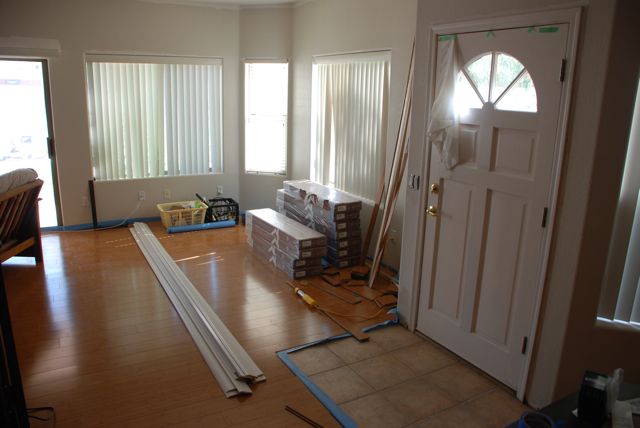
The entrance to the condo.

When the condo was built the foundation settled enough to leave a crack and small ridge. It's not growing, but was large enough to be a problem for the flooring. So we rented a concrete grinder and knocked the ridge down just a bit. This is a dusty job.
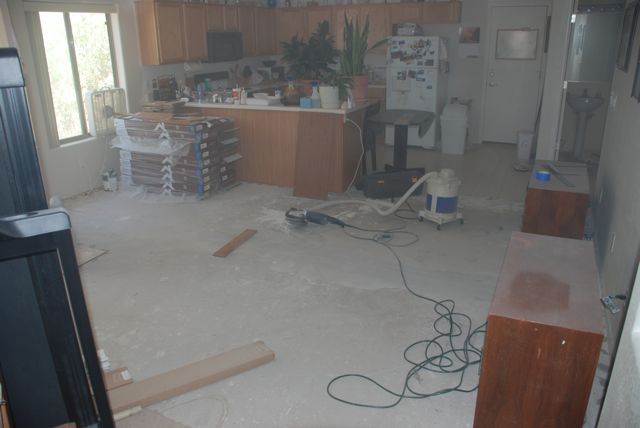
Dust in the air. Our shop vac was not up to the task of sucking up all the concrete dust. Oye. Time for cleaning.
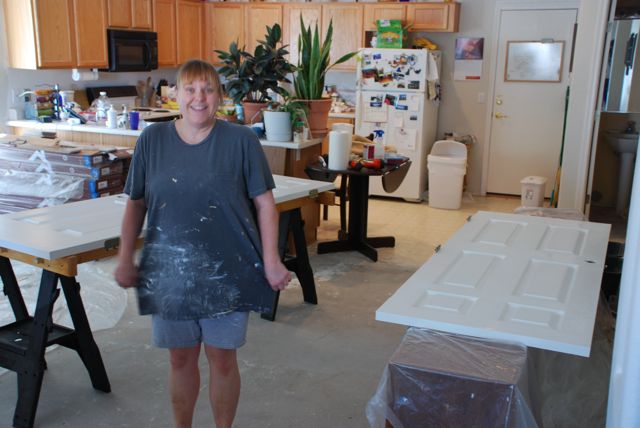
Jane takes on the task of painting the doors we've removed from the hinges to make it easier to install the flooring. This wasn't part of the original plan, but we figured it would be a great time to give the doors a new coat so they matched the molding Jane will be painting later.
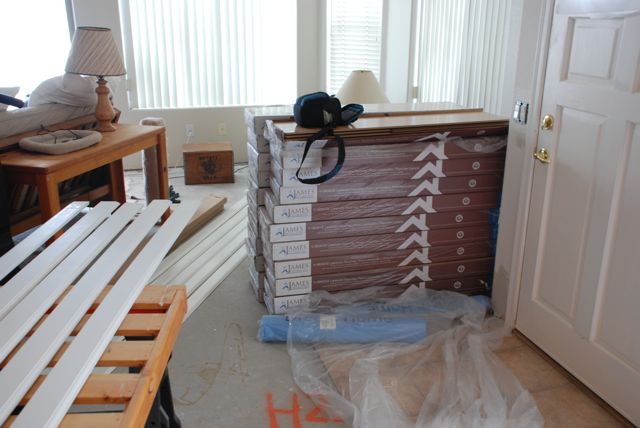
Many boxes of flooring ready to go and painted baseboards.

DIY paparazzi!
We started in the walk in closet to get the feel of working with the flooring so any early mistakes would be out of sight and we'd be better when we moved to more visible areas.
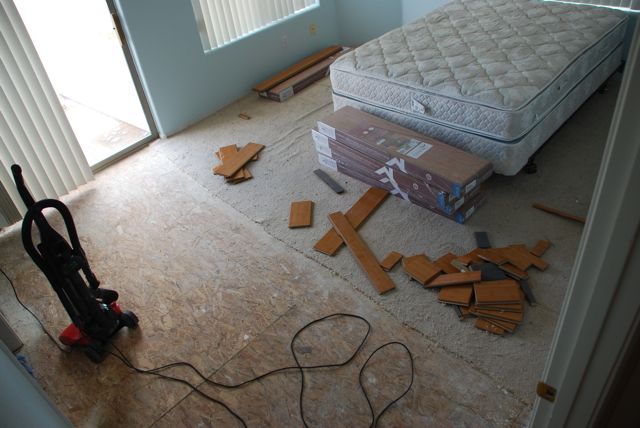
The upstairs bedroom before we started.
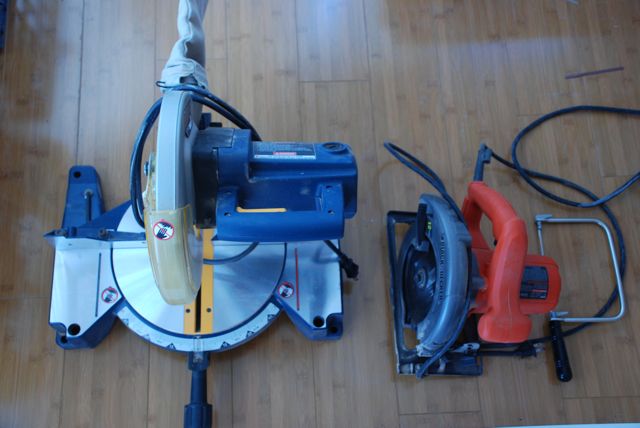
Tools of the job. MIter saw (actually more important for the molding later). A circular saw for ripping planks. And a coping saw for molding work.
Upstairs hallway presenting the first angle wall cuts. Typically planks would be laid parallel to the length of the hall, but Jane had some installers do the stairs before I arrived and they ended the top step with a plank glued down and it set the direction for the planks. The orientation in the hall also made it possible to just continue into the upstairs bedroom thereby eliminating the threshold for a smooth transition between the room and the hallway.
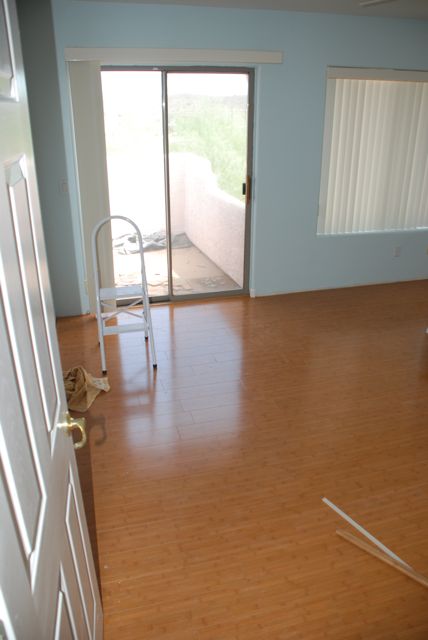
Nice new bedroom floor.

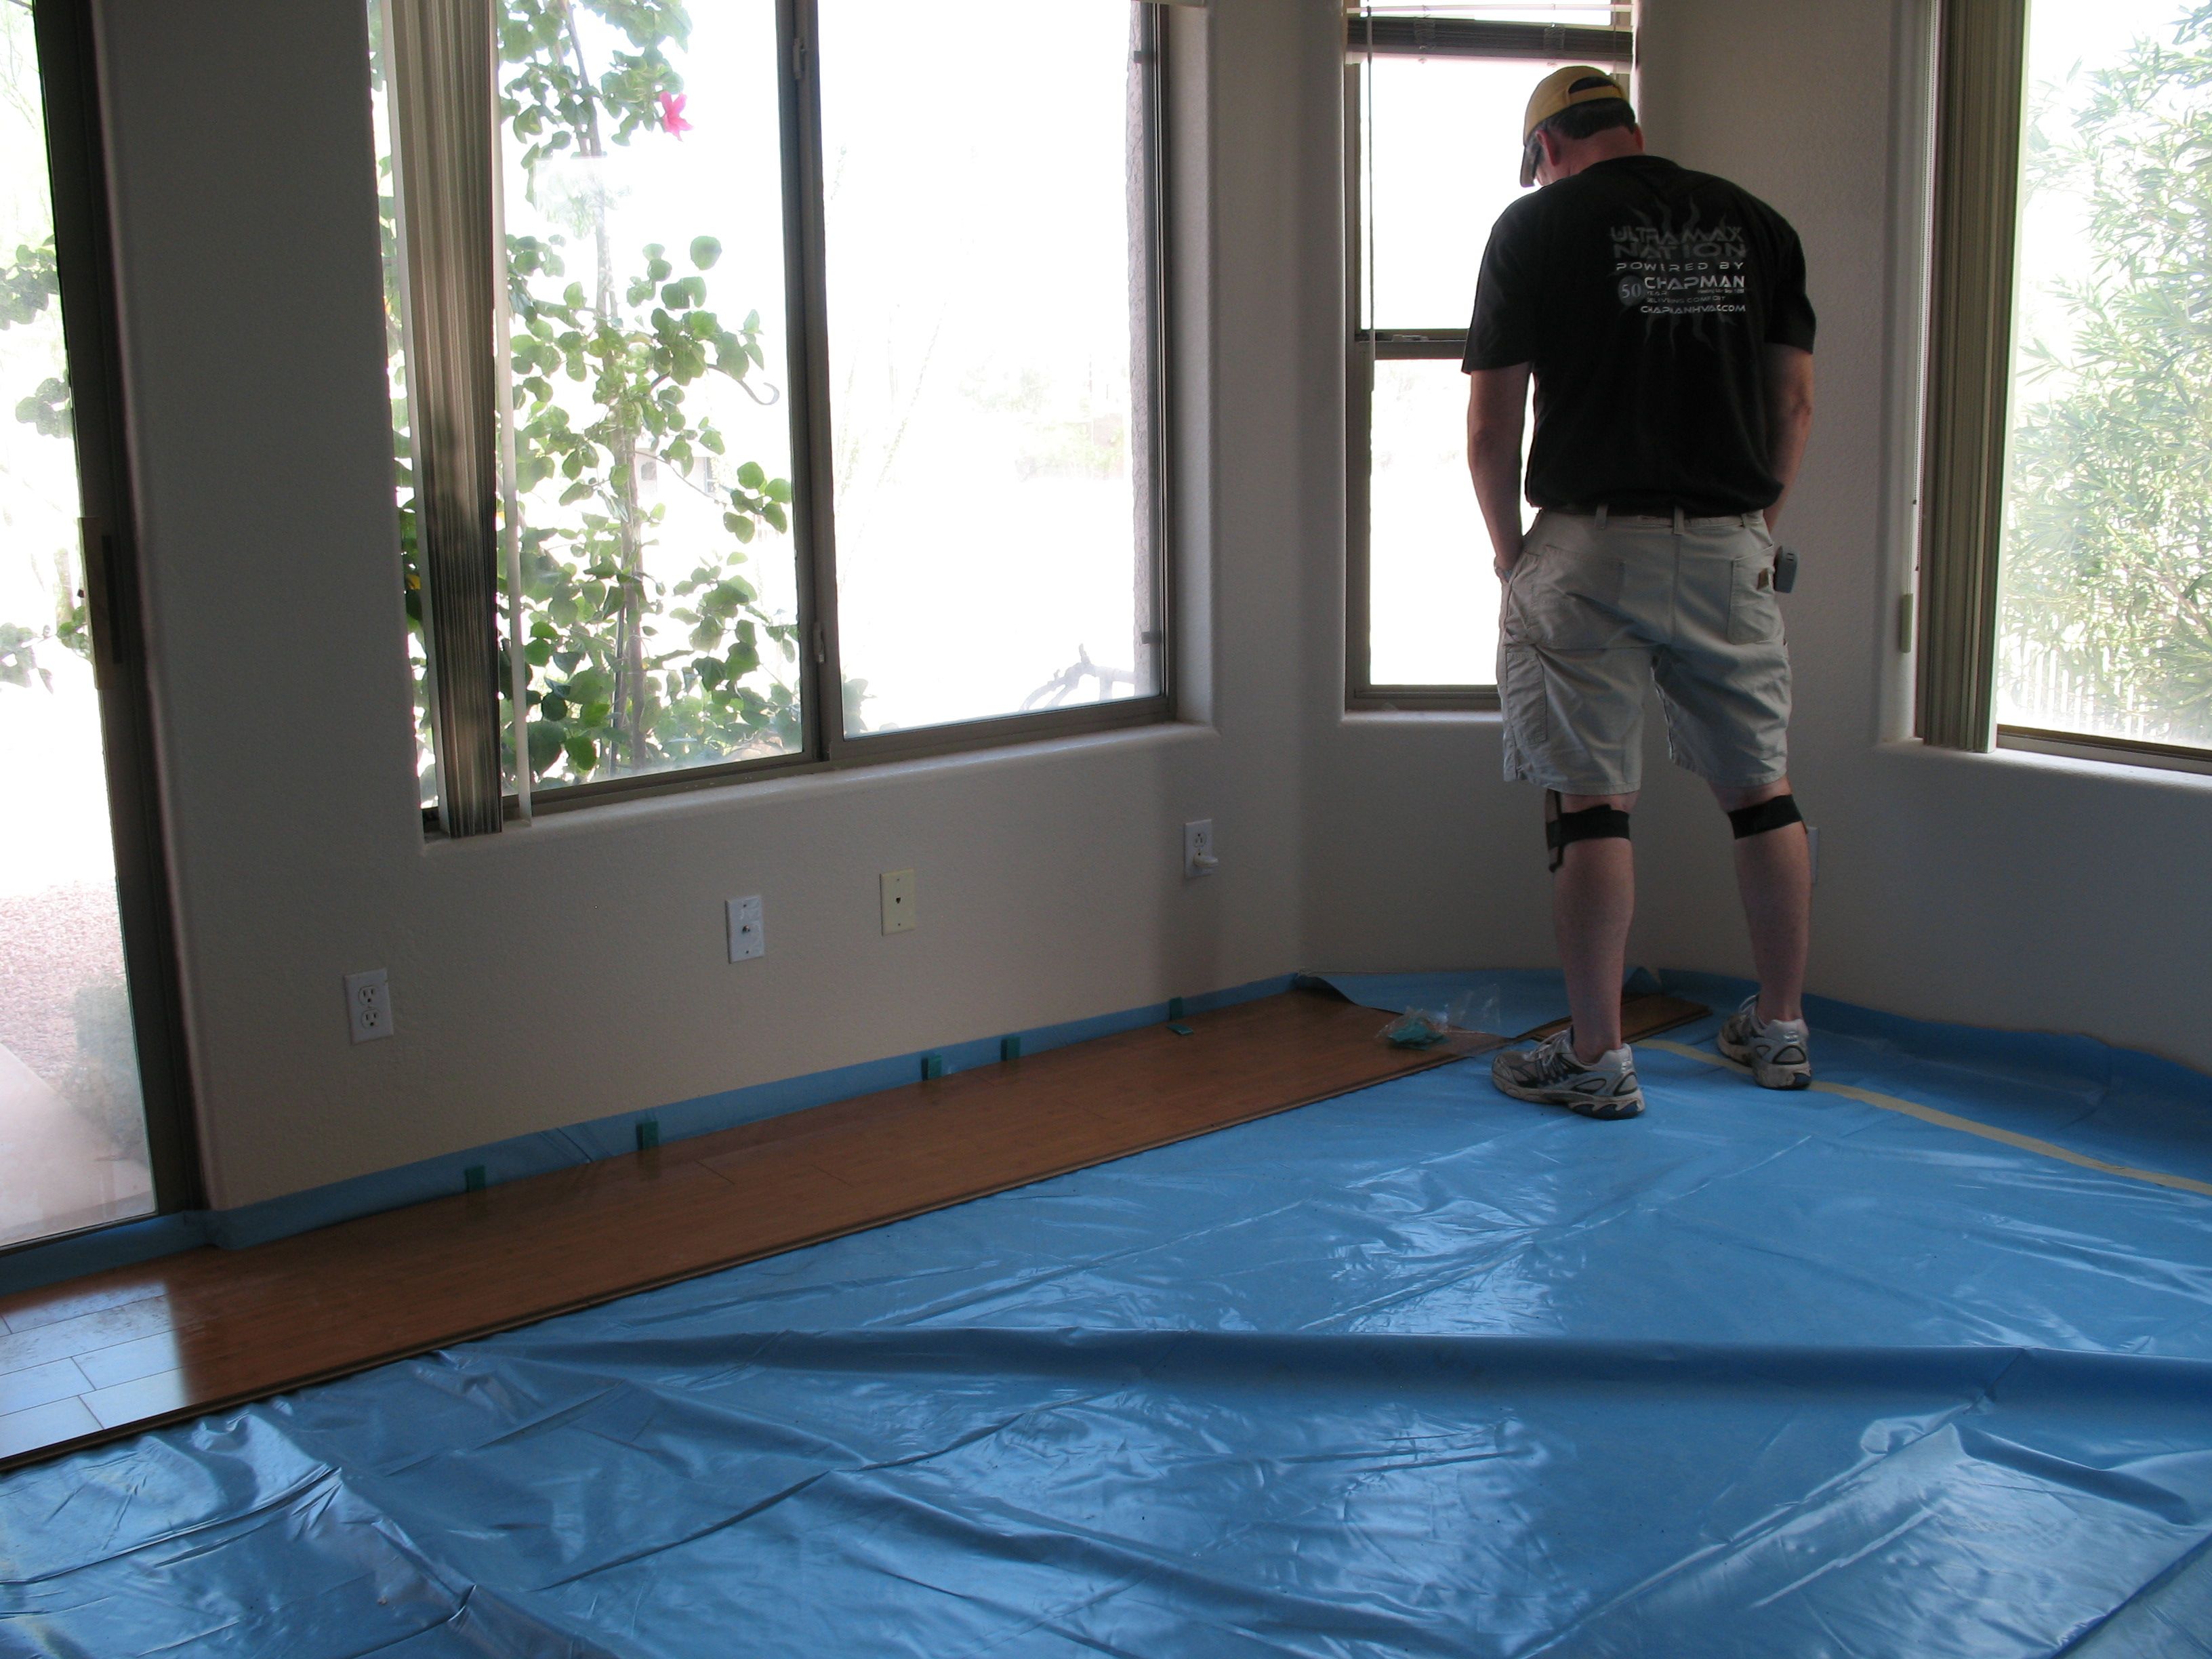
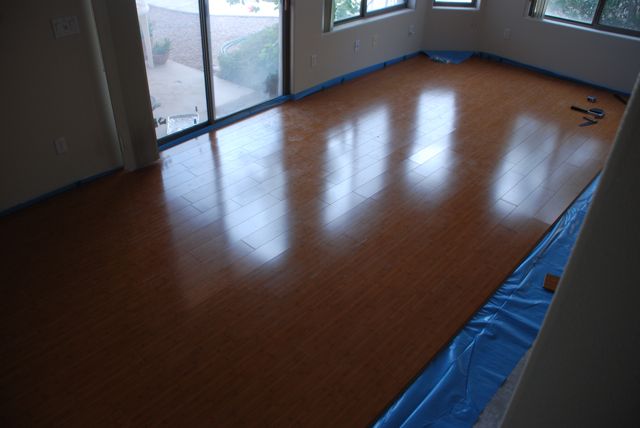
Starting downstairs. The concrete sub floor requires a plastic underlayment to create a moisture barrier between the concrete and the flooring.
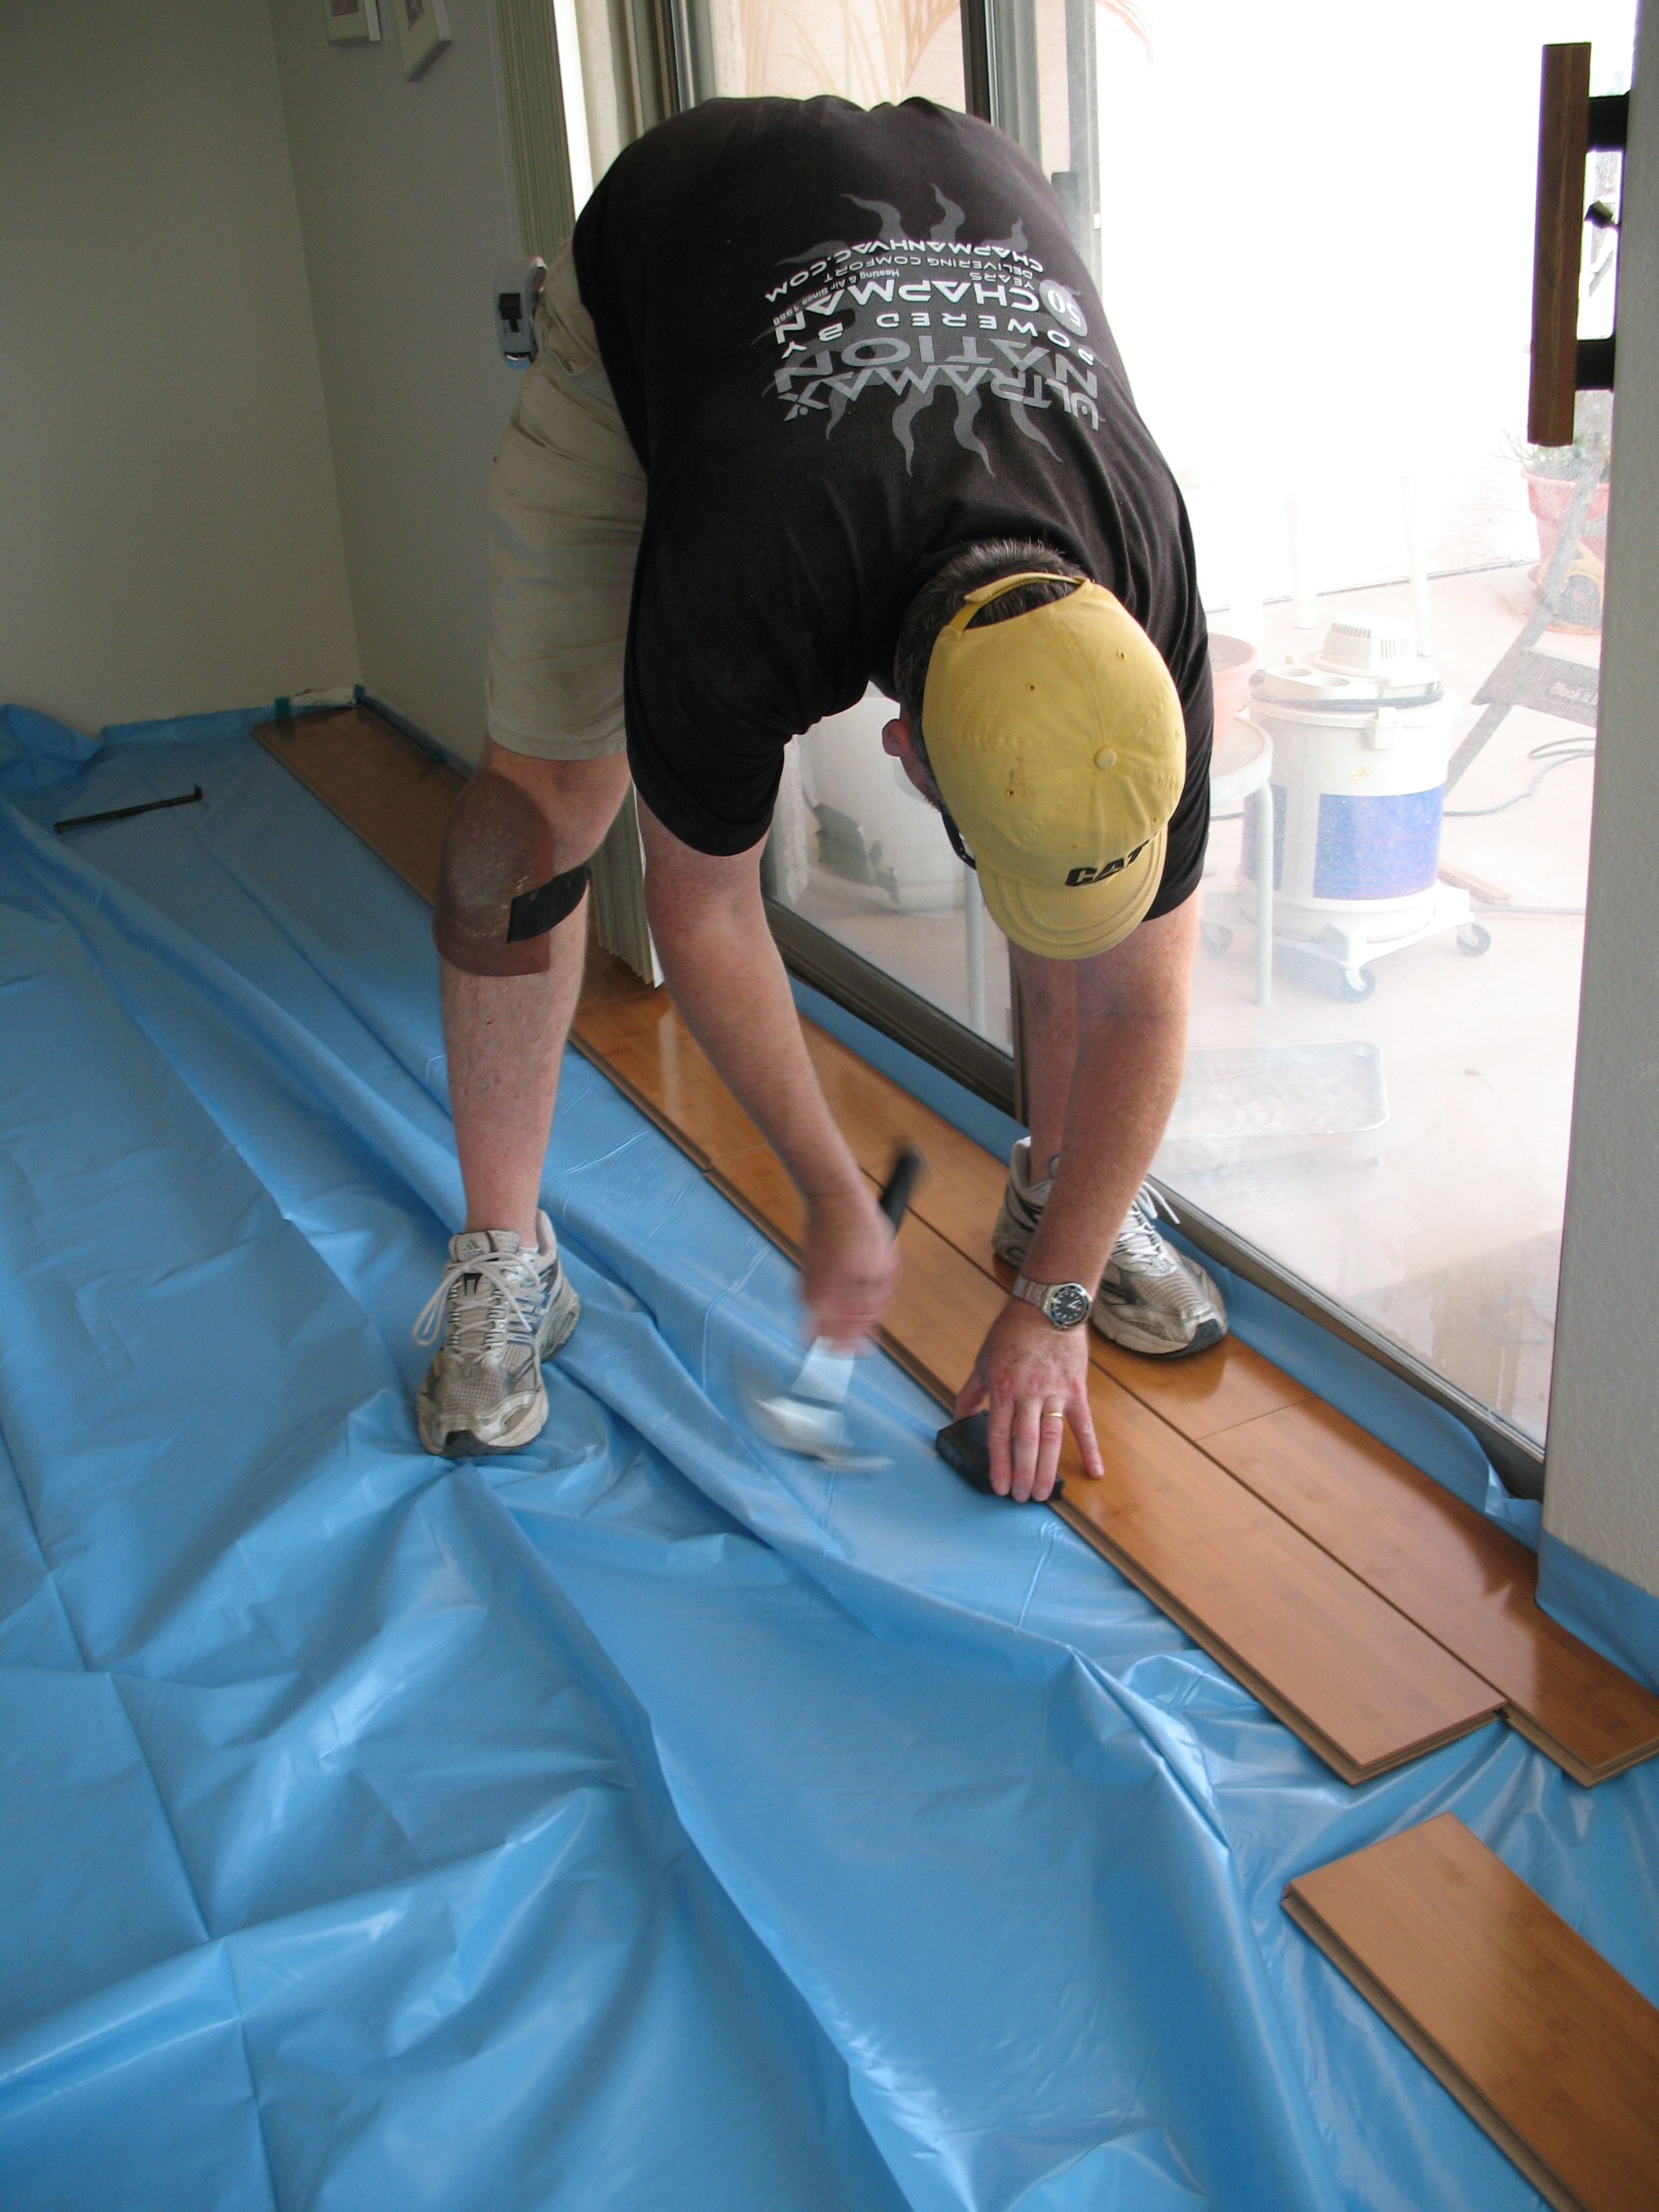
First rows.
I'm mulling over what to do with the angled wall. Really. That's what I'm doing.
The angled corners were not as easy as they might seem because the 135 degree corners are also rounded and as it is with all walls, especially these, they are not remotely close to straight.
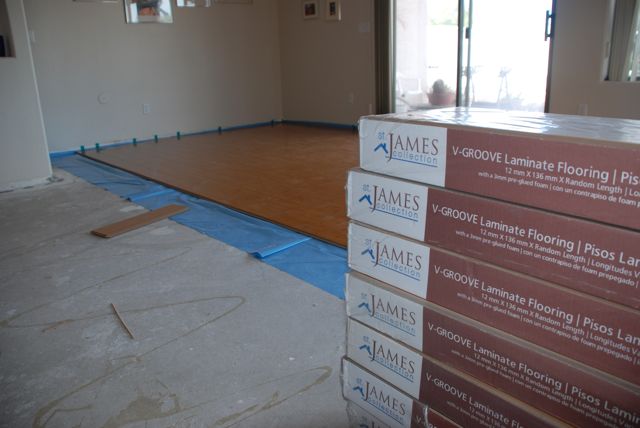
the stacks of boxes made for convenient spots for resting a coffee cup or sitting when eating lunch.
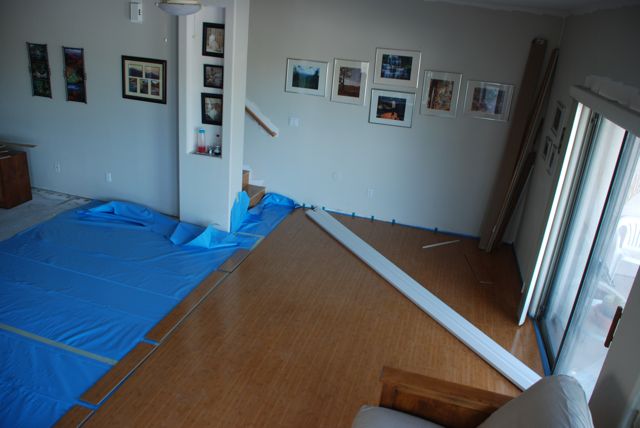
It goes fast once you're in the open of a big room. Small cuts around doorways and other obstacles tend to slow you down.
Almost time to turn on the music and do a little dancing.
Was the tiled entry parallel to the wall against which we started? Of course not. So we slowed down and made the more slanting cuts required.
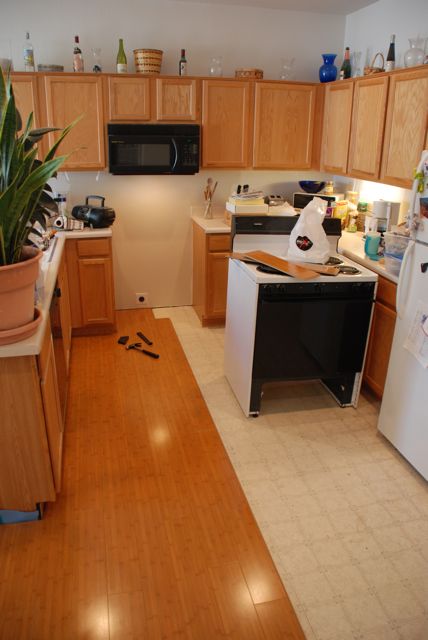
The kitchen area presented the challenge of where to move the appliances. Good thing the oven is relatively light and the fridge is on wheels. We used the cardboard from the boxes of planks for floor protection when we moved the refrigerator
.
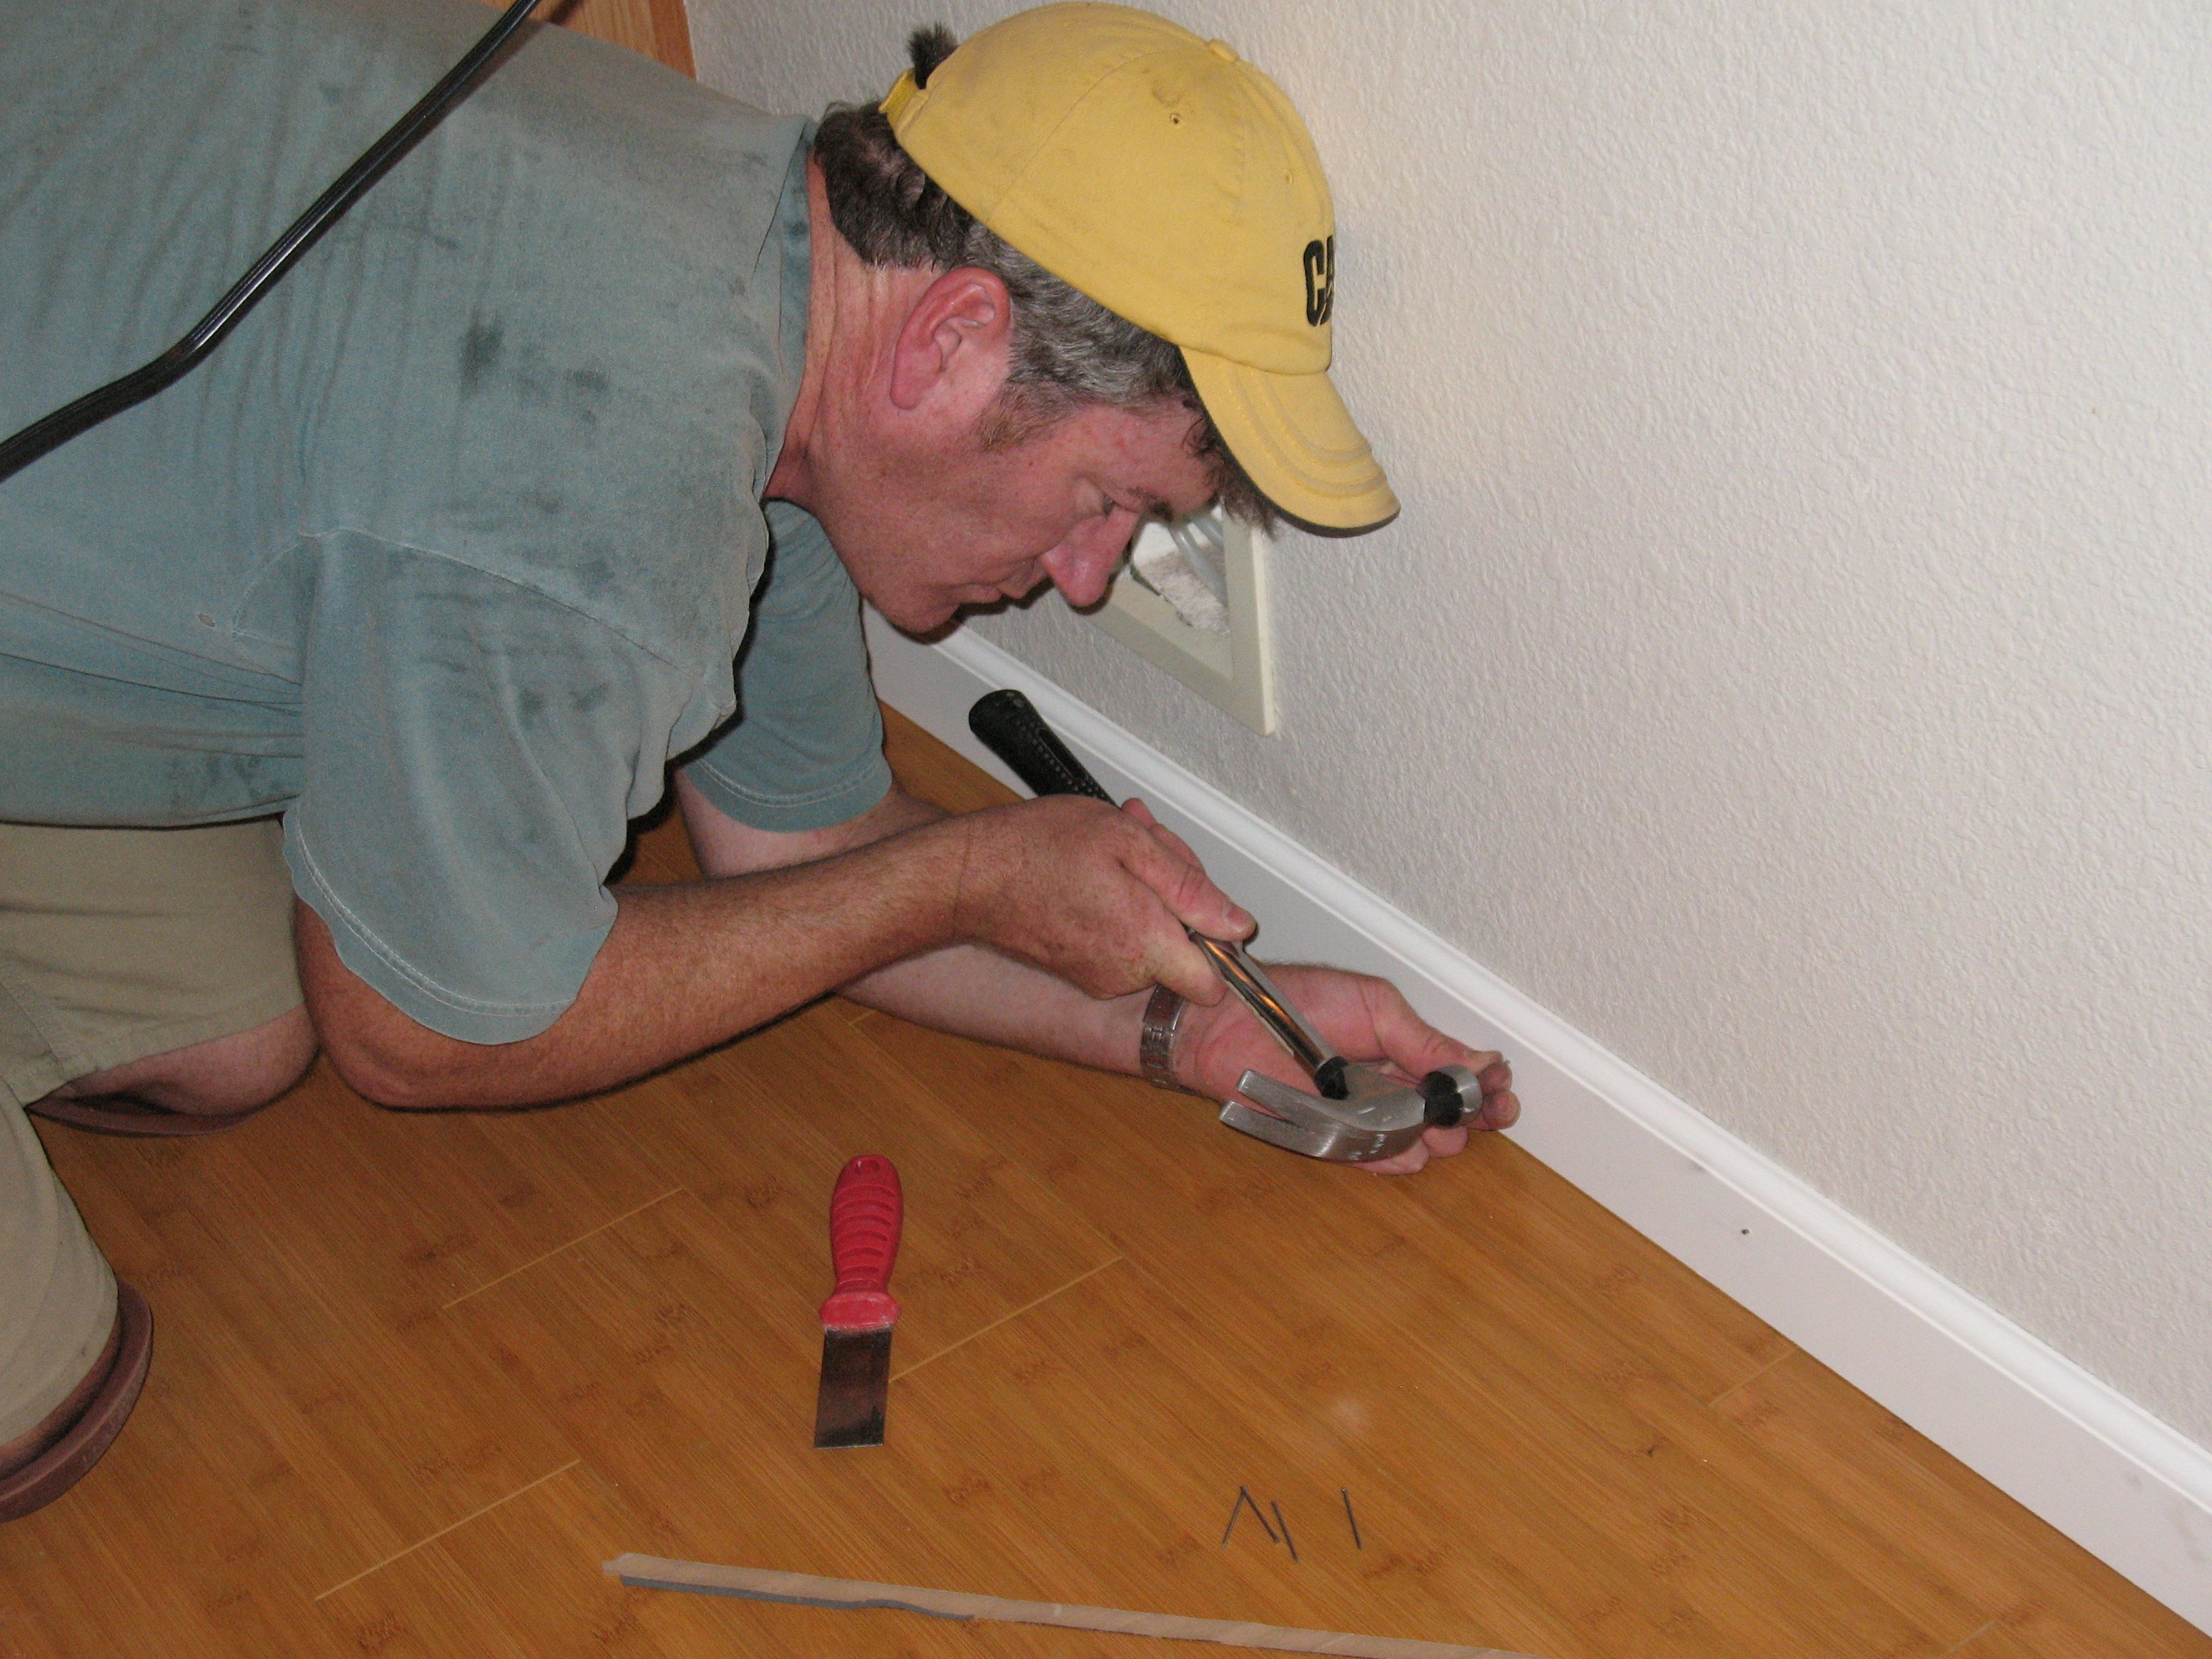
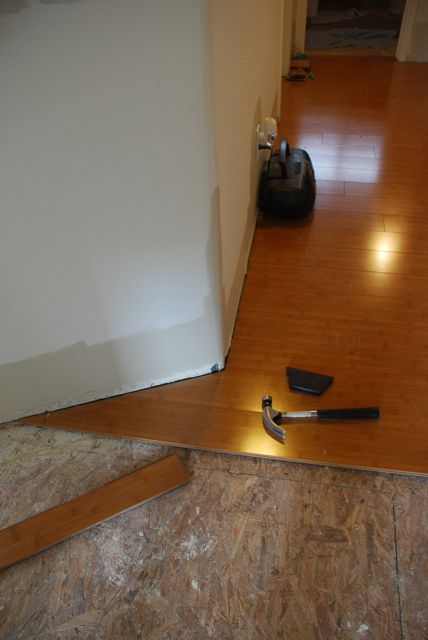
Carefully nailing the baseboards into place. I've yet to get a power nailer. It would speed things along.
Is that concrete dust in my hair or am I really that gray. Holy moly!
Tools and Materials
Laminate - 48 boxes
Moisture barrier/foam underlayment
Miter saw
Carbide tip blade
undercut saw for door jambs
Spacers
Tapping block
Pull bar
Hammer
Utility knife
Tape measure
Pencil
Safety glasses
Knee pads
Roll of wide adhesive tape
Cement floor grinder
Grinder blade
1/4 round
Transition/threshold molding
3 1/4" base molding
Drill and bits
Finishing nails
Stud finder
Shop vac
Wood filler