Phase two for flooring in Phoenix . This time it's tiling the bathrooms.
Photos by JFX (that would be Jane) and a few by me.

Master bath, left, has two inch tiles. Guest bath, center, uses cream colored 12 inch tiles. Clay colored tiles, right, are in the half bath downstairs.
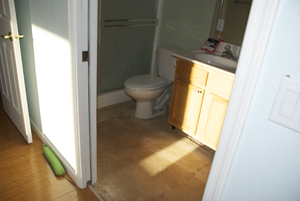
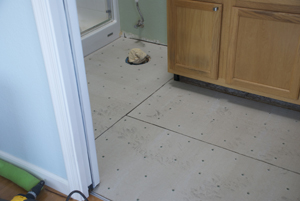
A before picture.
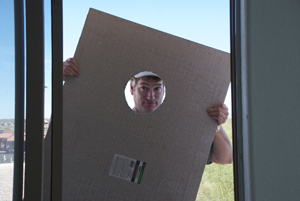
Hardiboard with a hole. For a portal for the uh... er... closet flange... aka Toilet.
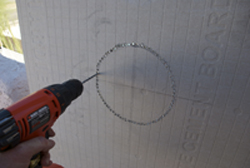
When you don't have specific blades to cut a curve in the hardi board (and the manufacturer's website says cutting with a saw creates loads of silica dust... not good for the lungs) you use a masonry drill bit. Inexpensive and youmay already own one. but it's your first test of patience. You drill a lot of holes then knock out the center with a hammer.
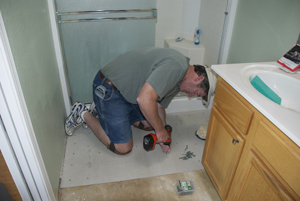
Down goes the hardiboard. Many, many screws. The battery in the drill/driver ran down pretty quickly. We decided to go to the store and get a corded drill. Funny how there's such a thing as a "corded" drill. It never existed until there was such a thing as a cordless drill. Such a curious language.
Sub floor screwed down.
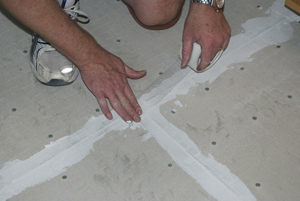
Fiberglass mesh tape on the joints.
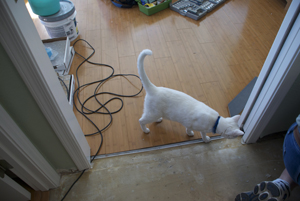
Quality assurance in the form of Inspector Gabriel.
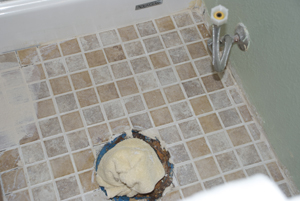
Small tiles going down.
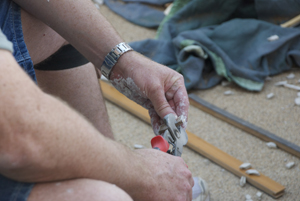
A few tiles needed custom fitting courtesy of a tile nipper. Of course mister soft hands did enough of this to get a blister. A small price to pay for a nice fit around the toilet flange.
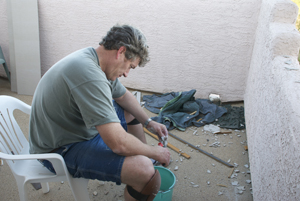
The tile nipper. The balcony was a good area since the little bits being nipped off almost never went into the bucket. sort of like cutting ones toenails. The nails never go in the trash can and you have to track them down. In this case we just swept up all the tile bits nipped off.

Good alignment courtesy of the little x's.
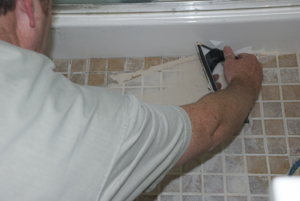
Rubber float pushing in the grout.

Careful cleanup with a frequently rinsed sponge.
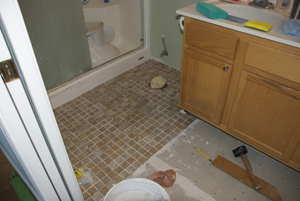
Looking good.
Bathroom two, downstairs. Tiles are one foot square here so it goes more quickly.
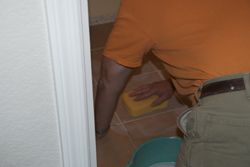
Clean with a sponge again and again and again until the tile is clean. Keep that sponge clean by rinsing a lot. Come back when the tiles have mostly dried and there's a haze on the tile. Wipe clean again. So, another spot patience is required.
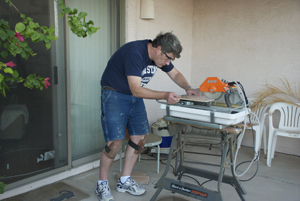
Out on the patio with the wet saw cutting the larger tiles. It produces a really high pitched whine. Should have had ear protection as well as the safety glasses.

Whirrrr...
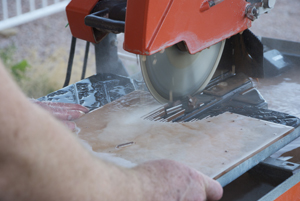
When cutting curves you slice out thin bits and then break them off. Lots of thin bits. Lots. More patience required.
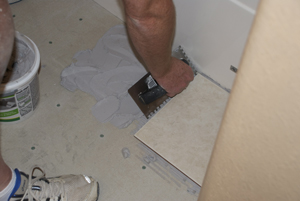
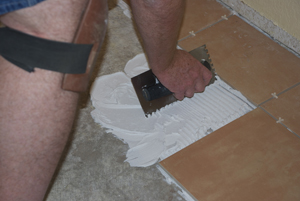
Quarter inch notched trowel for the thinset. The trick is to keep the thinset an even depth so it's important to keep the trowel clean.
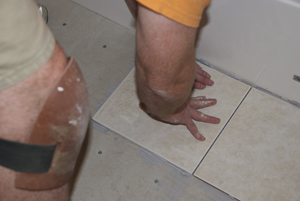
Setting tile in the guest bath. Twist it slightly while pressing it down to ensure the tile is set in the thinset.
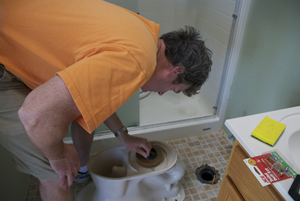
The all important wax ring on the bottom of the toilet. But it didn't feel right when I put the toilet base back in place. The wax wasn't thick enough to fully contact the tile.
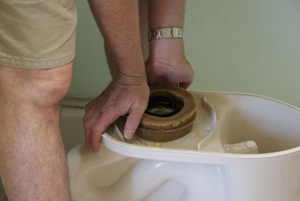
The solution is another thinner wax ring on the bottom.
Not too shabby if I do say so.
Tools and Materials
Tile, lots of tile
Thin set
Notched trowel
Various spacers
Wet saw
Tile nippers (and isn't it great that there's a tool called a "nipper?")
Drill/driver
Hardiboard
Hardiboard screws
Grout
Grout float
Wax rings for the toilet
New bolts for the toilet
New shut off valve for one toilet (yes, the old one wouldn't shut off totally and then it broke. Oye!)
Hammer
Masonry drill bit